Window tilling is often associated with window managers, which lets you arrange multiple windows without wasting any display area.
Guess what? You no longer have to use a window manager for basic window tiling as many desktop environments let you do that by default or with the help of plug-ins (or extensions).
I came across such an extension for GNOME which makes it pretty easy to tile windows, i.e., “Tiling Assistant“. It lets you arrange windows using your mouse and keyboard without needing to create a config file.
So in this tutorial, I will walk you through how you can install and use the Tiling Assistant in GNOME.
Here’s How to Install Tiling Assistant
There are multiple ways to install GNOME extensions on Linux, but here, I pick the least complicated one: using the web browser.
First, visit the official page of the Tiling Assistant extension and click on the Install button as shown in the screenshot below:

Right after the installation, you can start using this utility. If you face issues, you might want to refer to our guide on installing extensions:

For instance, snap your window by dragging it to any corner, and it will ask you to choose which running application you want to be used for the remaining space:
Window tiling and resizing using Tiling Assistant
Do you see that? After tiling and organizing the windows, you can resize them and active windows will retain the ratio, making the best use of the display area.
But you can do a lot more than that (hint: through keyboard shortcuts).
Fret not, I shall highlight a few ways to make the most out of it.
Using the Tiling Assistant in GNOME
If you want to unleash the true potential of the extension, you must try the keyboard shortcuts to tile windows at the speed of light!😉
To open the settings prompt, press the settings icon 🛠 from the official page of Tiling Assistant:
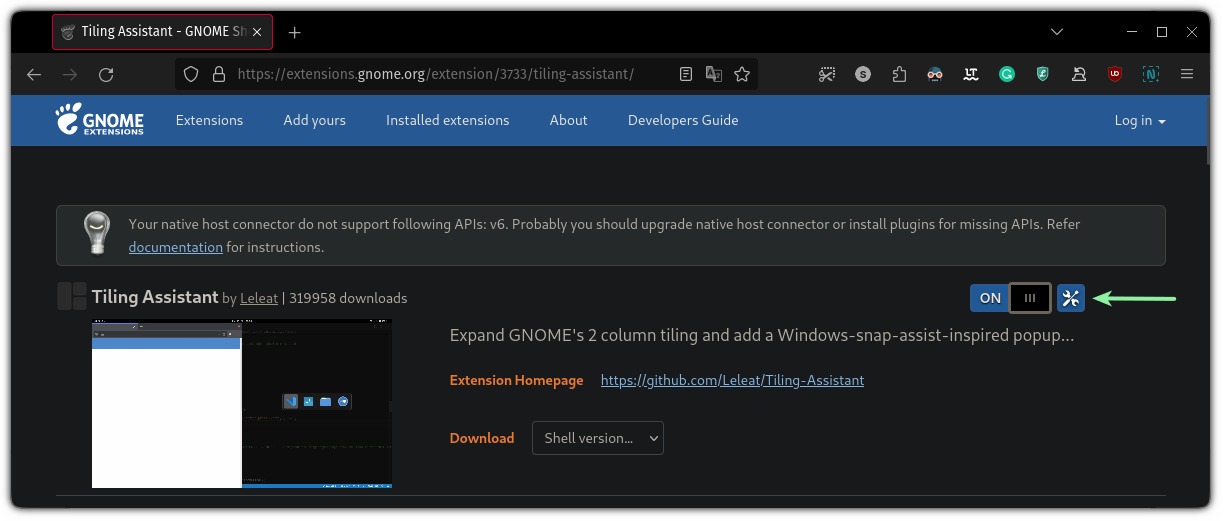
It will then display a settings prompt. You can then head over to the Keybindings section:
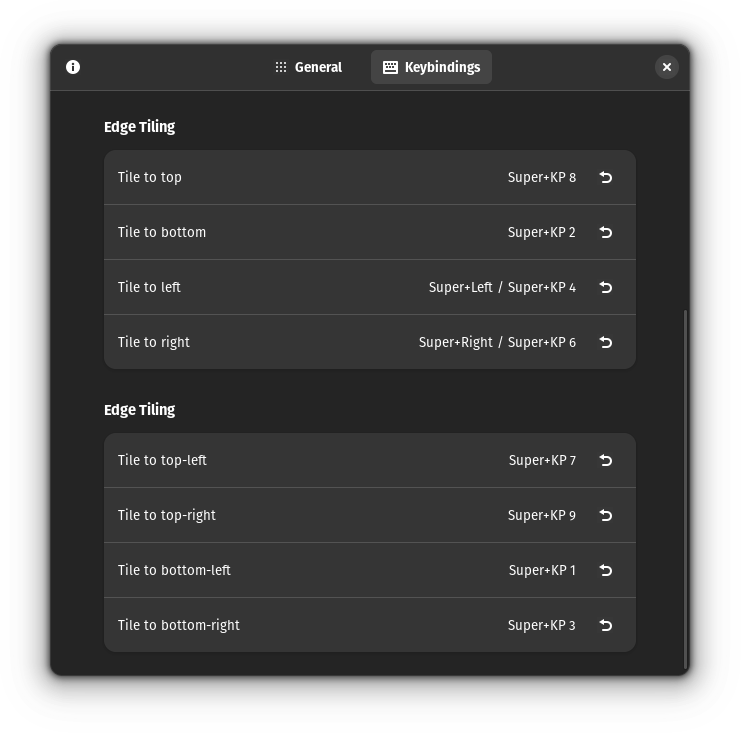
Here, you will find every keybinding (shortcut) utilizes the KP associated to a number such as for Tilling to top-left, press Super + KP 7.
So what is KP here? It refers to the keypad (the number pad in a full-sized keyboard). This means each keybinding wants you to press some numbers from the number pad.
I use a TKL (ten keyless) keyboard, so I don’t have access to a number pad.
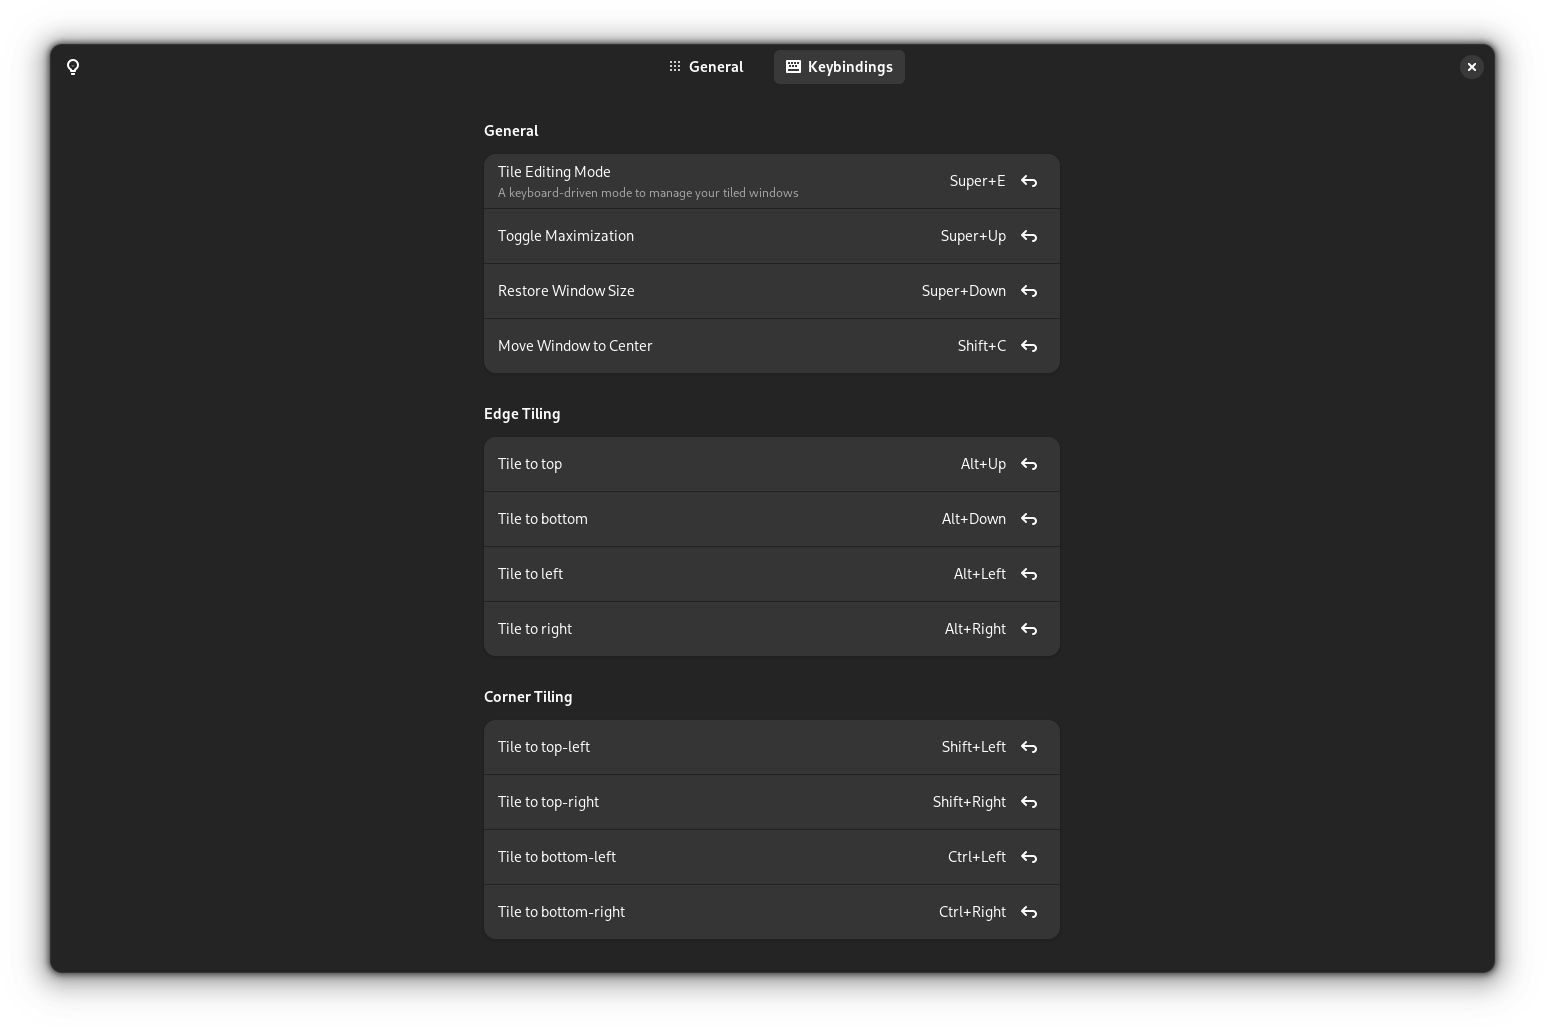
So, I changed every keybinding as to my liking:
🚧
Before using the same keybindings like mine, make sure it does not conflict with any existing ones.
Now, let’s explore how you can use this utility to arrange windows.
The Basics
The simplest use case is where you maximize, minimize, and align the window to the center of the display.
To maximize the window, all you have to do is press Super + Up arrow and it will maximize the focused window:
To restore the window, press the Super + Down arrow:
But what if you want to align the focused window to the center? By default, this functionality is disabled, which means you have to configure a shortcut by yourself.
I have assigned Shift + C to align the window to the center, but you can use any of your preferred ones:
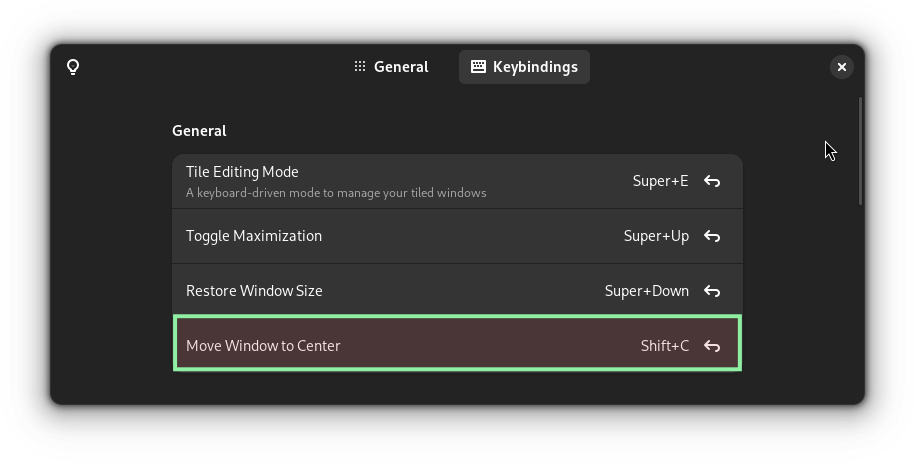
Once configured, here’s how it will move the window to the center:
Using the edge tiling (the heart of this utility ❤️)
The heart of this utility? How?
First, allow me to share what edge tiling is, and then you shall realize why it’s an important use-case.
Using the edge tilting, you can tile two windows, so you’ll be dividing your display area 50% to each window.
You choose one window that can be placed on the bottom, top, left, or right side of the display and will cover the half the area of the available screen.
For the remaining half of the screen, it will show the list of the active processes from which you can select one, and it will be tiled on the remaining half of the screen.
Sounds confusing? Let me show you how you can use it:
In the above demonstration, the focused window was Firefox.
Once I tiled it to the left side, it asked me what to be tiled on the remaining right part. I picked the file manager.
Yes, it’s that simple.
You can also tile your windows horizontally (top and bottom):
You can use your mouse cursor to resize tiled windows pretty easily:
But what if you want to do the same using the keyboard? I got you, don’t worry!
Using corner tiling
The edge tiling is cool but it will only let you use two windows.
What if you would like to use more than that? Corner tiling is your answer.
Unlike edge tiling, where it will ask you to choose from the available windows right after tiling the first, you get the prompt after the second window.
This way, you can tile three windows (if you selected a window from the available prompt). However, you can press the Esc key to skip the selection part.
For the fourth and the last tile, it will show the available options and from there, you can choose from the available choices.
Here’s how you can tile four windows using the corner tiling:
Resizing tiled windows using a keyboard
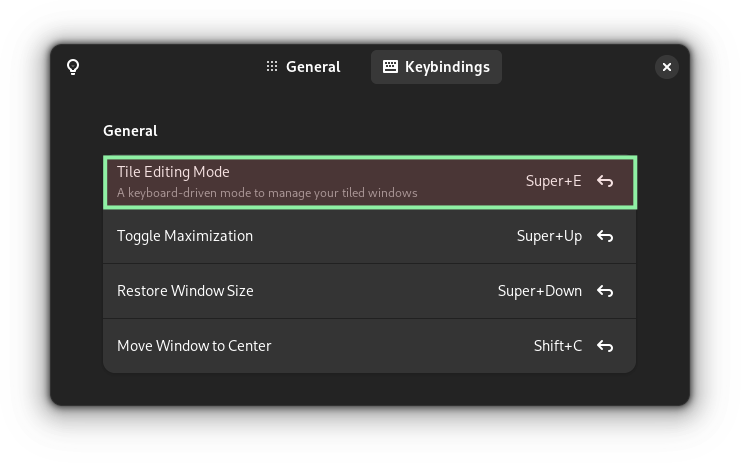
To resize the tiled windows, first, you have to enable the Tile Editing Mode by assigning a shortcut to it.
I use Super + E but you can use what is more relevant to your workflow:
📋
To use tile editing mode, your windows must be tiled already!
To use the tile editing mode, all you have to do is follow these simple steps:
- Trigger the tile editing mode using the previously defined shortcut.
- Use arrow keys to navigate to a window that needs to be resized.
- Use
Super + arrow_keyonce to mark which side needs of the window needs to be resized. For example, if I want to resize the left side, then I will pressSuper + Left_arrow. - Once marked, you can use the super key with any arrow key to resize it. For example, I marked the left side and if I wish to enlarge it on the left side, then I will press
Super + left_arrowbut if I intend to decrease the left side, then I will useSuper + right_arrow.
Sounds complex? Here’s how I resized multiple windows using tile editing mode:
That was pretty swift. Right?
Want More Control? Use a Window Manager Instead!
If you want more control over window management, plugins may not satisfy your requirements.
Window managers are highly customizable to the minute details, where you have to instruct your system through a configuration file. Sure, not for everyone, but it is a powerful way.
No idea where to start? You can refer to our detailed guide on using the I3 window manager:

If you want something easy that works out of the box, then using Regolith Linux is a great way to get started:
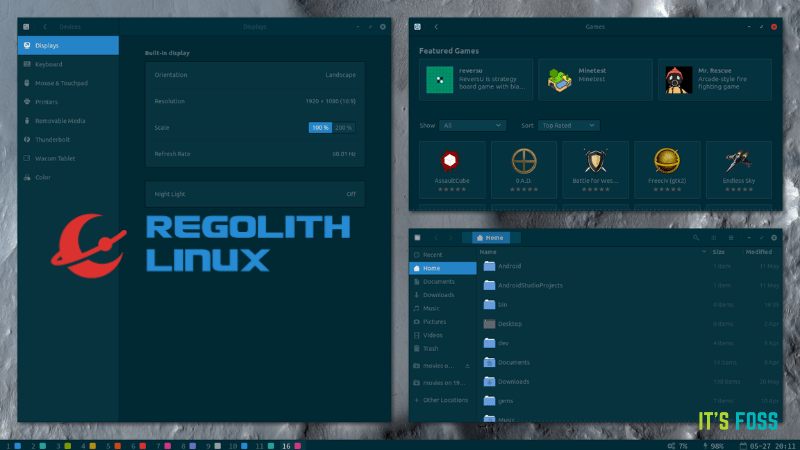
You can also choose to use distributions Pop!_OS, Nitrux, or Rhino Linux with tiling feature out of the box.
What do you think about GNOME’s Tiling Assistant? Do you prefer a window manager or a distro that comes baked with an auto-tiling feature?


