Linux Mint is one of the best Linux distribution choices for beginners. It is based on Ubuntu and yet some people find Mint better than Ubuntu.
If you want to try it, you can install Linux Mint inside VirtualBox. That’s one way.
Another way is to create a live USB of Linux Mint. This way, you can boot from the USB and experience Linux Mint in a live session. It won’t disturb your current operating system, be it Windows or Linux.
If you like it and choose to install it, you can use the same live USB. The creation of live USB is the first step towards Linux Mint installation.
Before you proceed to make a live USB, you need to take care of a few things first.
What do you need?
To get started, you need the following:
- A USB drive (also known as a flash drive or pen drive) with at least 8 GB of space.
- An active internet connection to download the Linux Mint ISO.
- A tool to help you create the live USB.
💡
You can create the live USB on one system and use it on any other computer.
Step 1: Download Linux Mint ISO
The ISO is an image file consisting of Linux Mint. This file will be flashed to the USB.
Linux Mint offers three ISOs for different desktop environments. The flagship Cinnamon edition, a MATE variant, and XFCE.
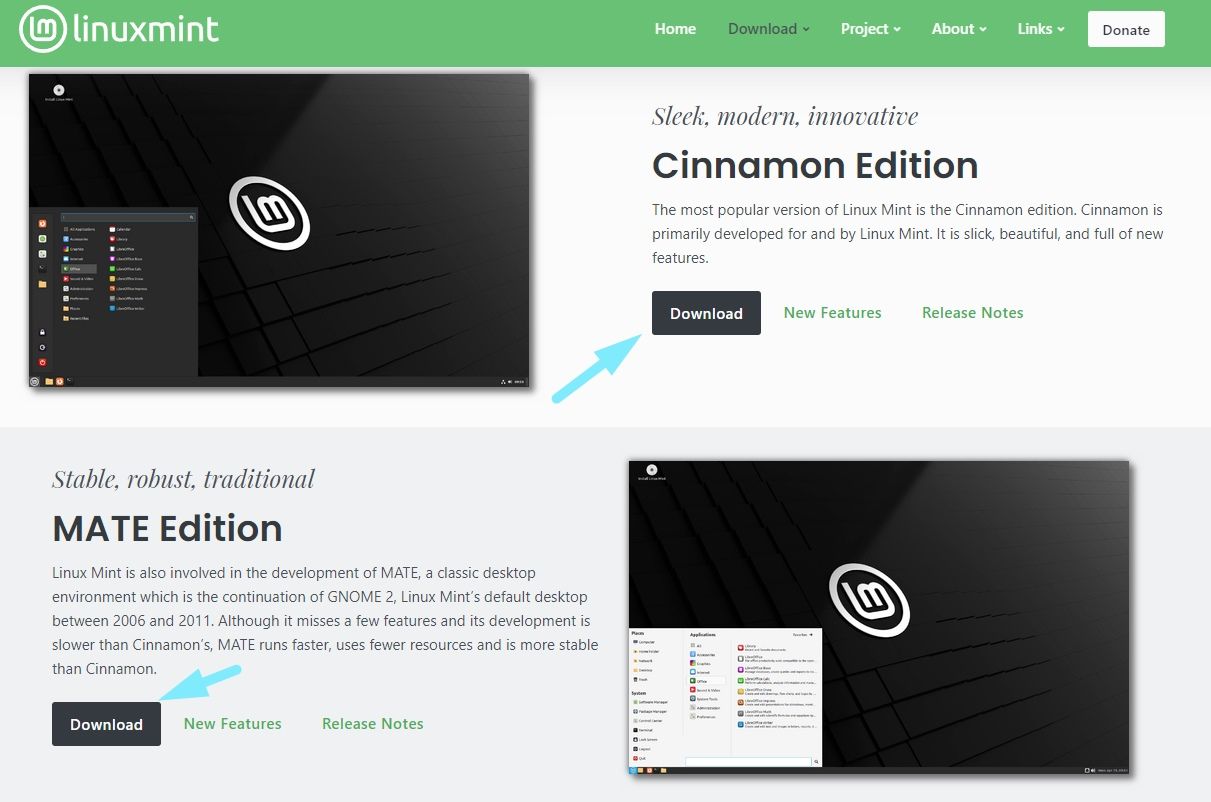
The ISOs include some of the best desktop environments that you can find. The popular recommendation is to get the Cinnamon edition for the best Linux Mint experience, but you can try others.
No matter the edition, the ISOs are approximately 2.7 GB in file size.
Head to the official download page and get it. You can choose among the mirrors available for direct download or use the torrent file.
Once you have the ISO, you’ll need a dedicated tool to flash the ISO image to the USB. I recommend Etcher.
📋
Step 2: Install Etcher to create the live USB
Rufus is an excellent tool for Windows users. Alas! it is not available for Linux users.
To keep this tutorial simple, I’ll use Etcher. It’s a Rufus alternative available on Linux and Windows both.
This way, you can use the same steps for creating live Linux Mint USB on both Windows and Linux platforms. The only step different here is the Etcher installation.
If you are using Windows
Download Etcher from its official website. It is recommended to download the full installer unless you have a reason to get the portable file.
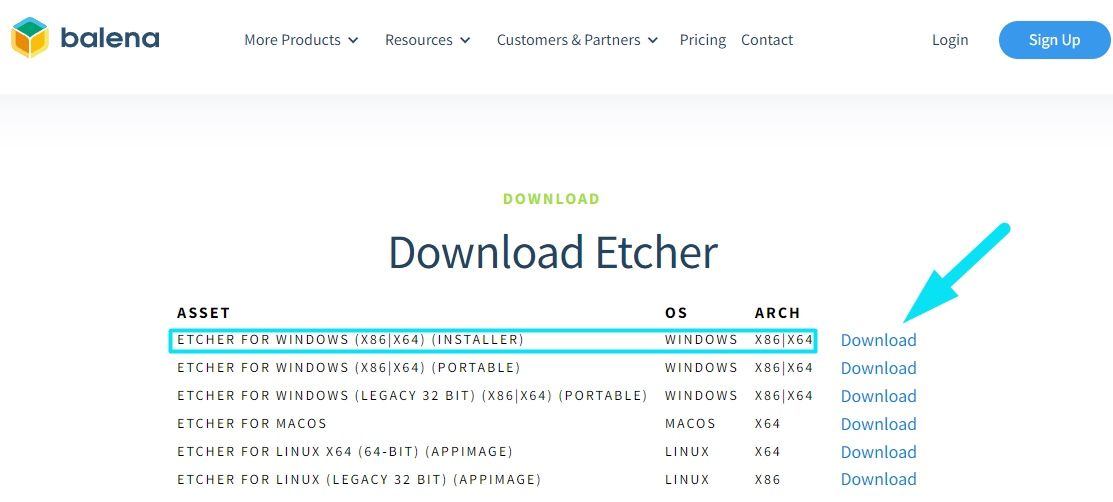
You will find an .exe file. Just double-click on the installer and follow the on-screen instructions to agree to the terms, and complete the installation.
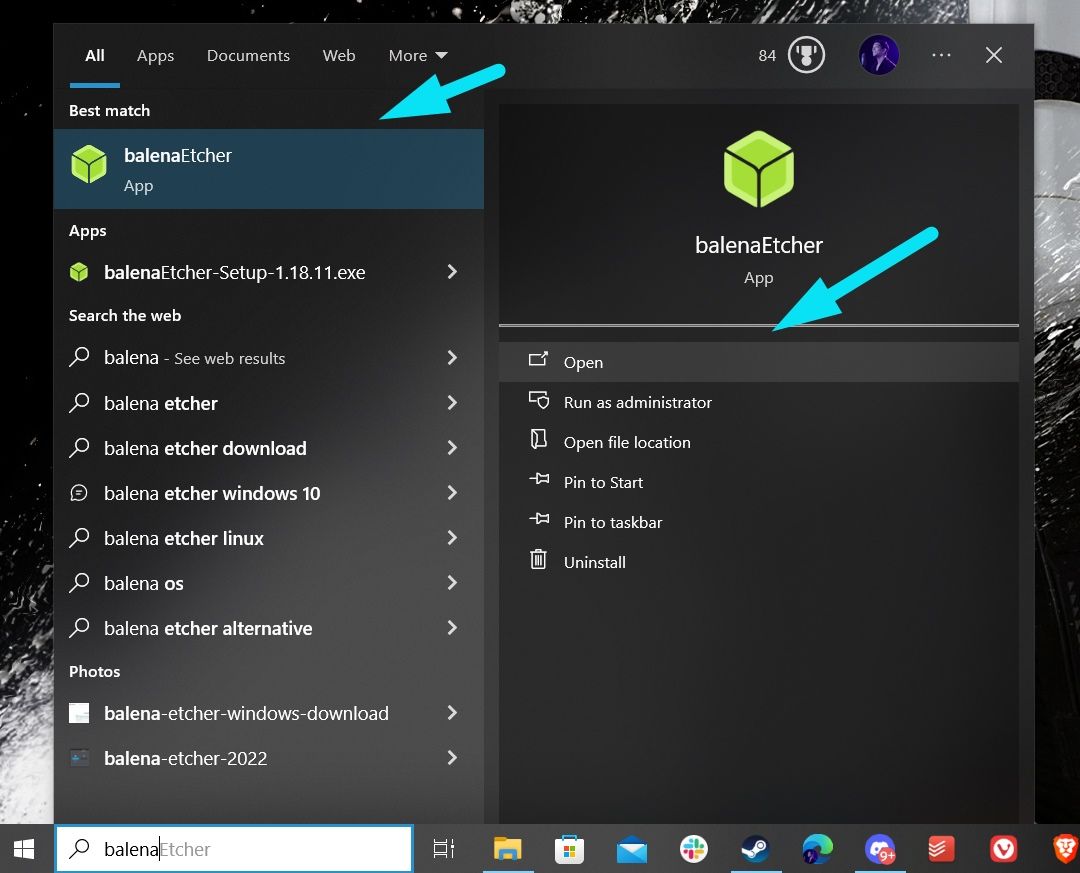
Next, you can search for it from the search menu and launch the program.
If you are using Linux
For Linux, download Etcher’s AppImage file from its official website.
You can refer to our AppImage guide to know how to run the file as an executable.
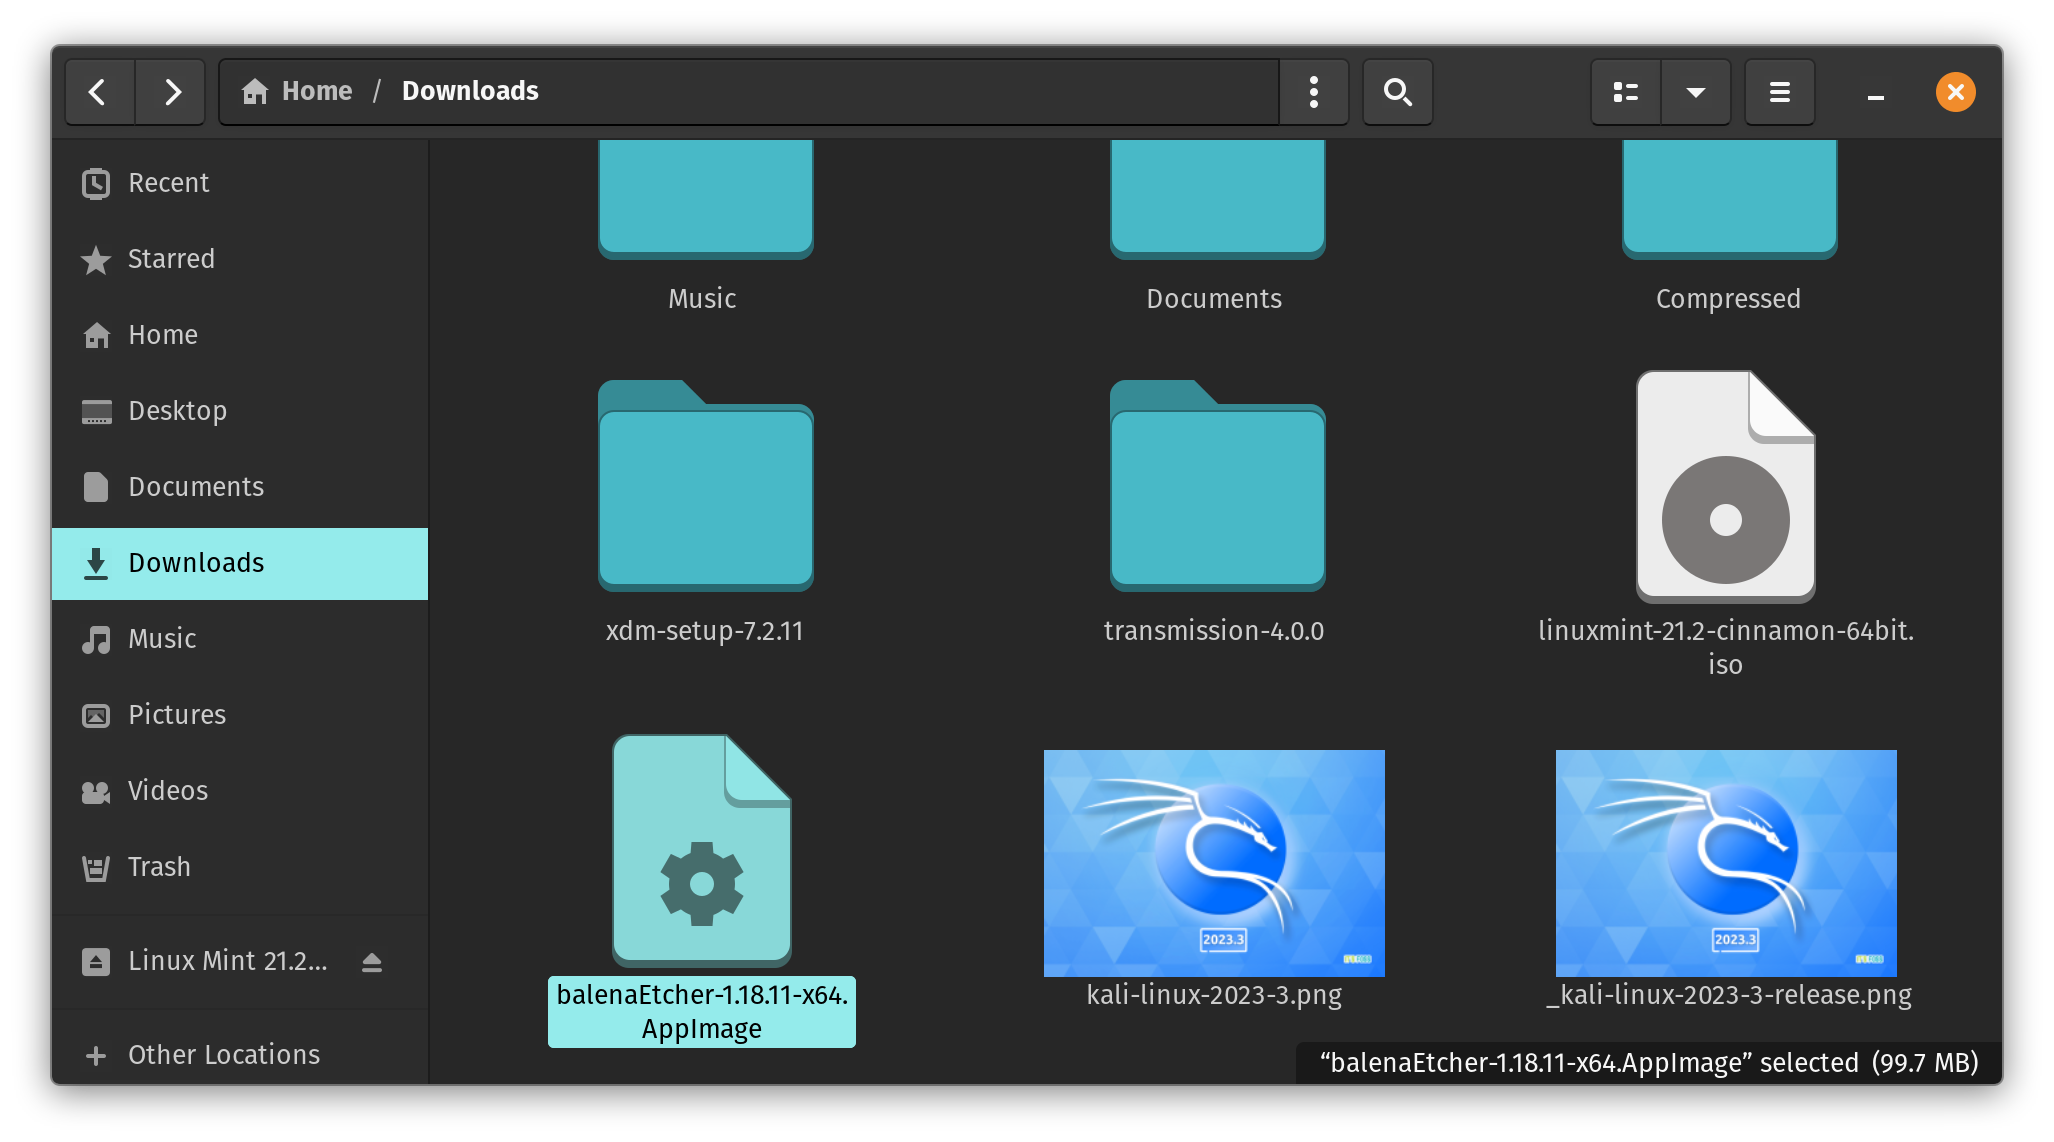
With AppImage files, you are not installing Etcher, you are directly running it.
Step 3: Flashing Linux Mint ISO to USB with Etcher
Plug in the USB drive and run the Etcher tool you installed in the previous step.
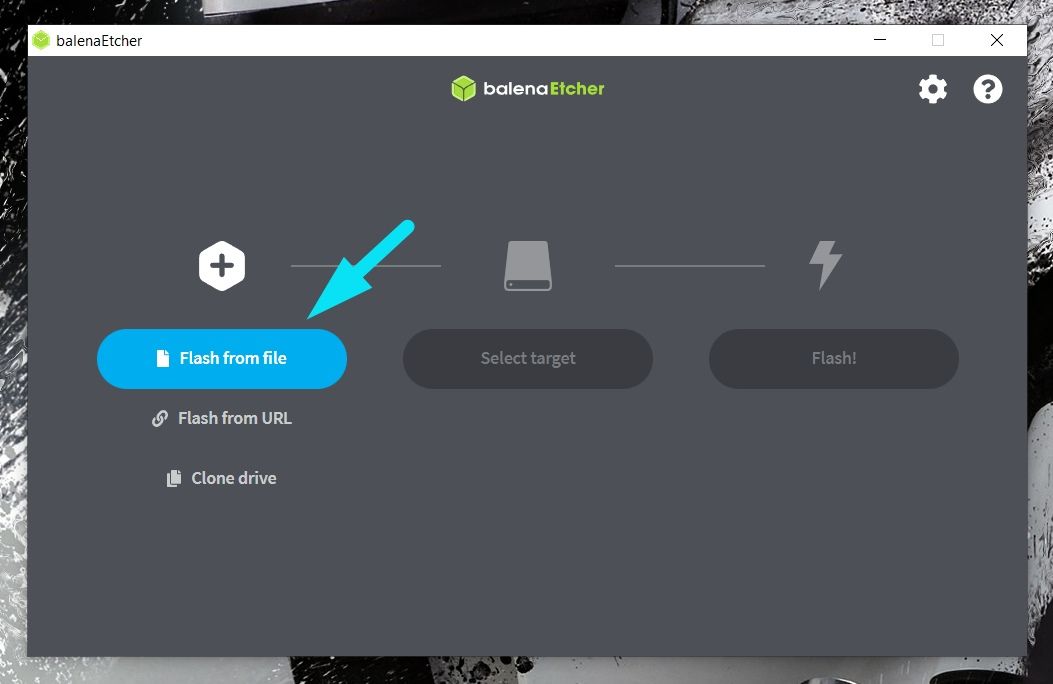
Now, considering that you already downloaded the Linux Mint ISO, click on the “Flash from file” option as shown below.
And select the ISO file downloaded using your file explorer.
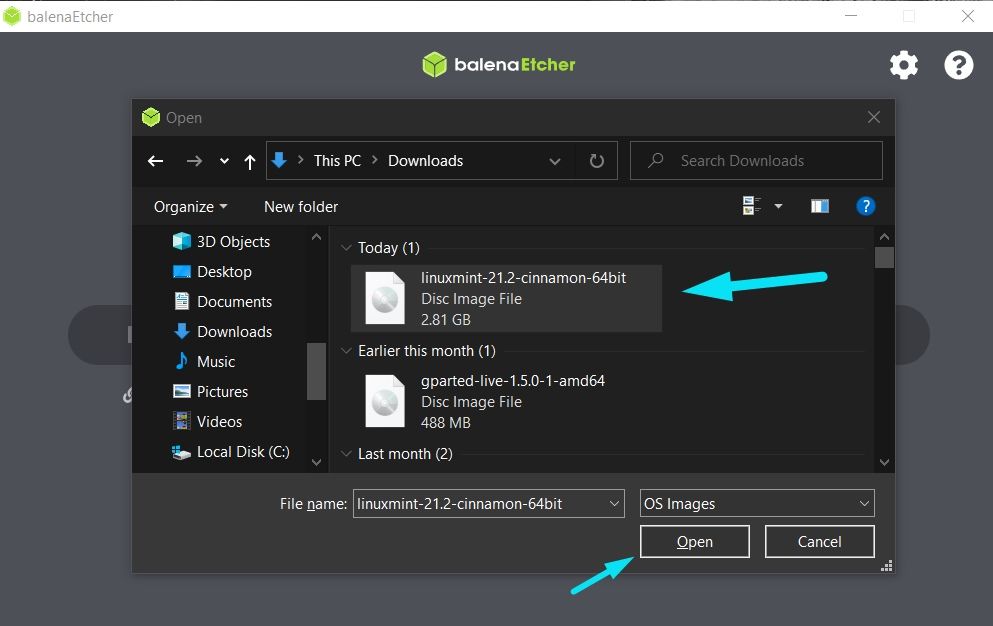
Once you select the ISO, you need to pick the USB device to flash it on. Etcher should automatically pick it if there is just one. Still ensure that the correct USB drive is selected in Etcher.
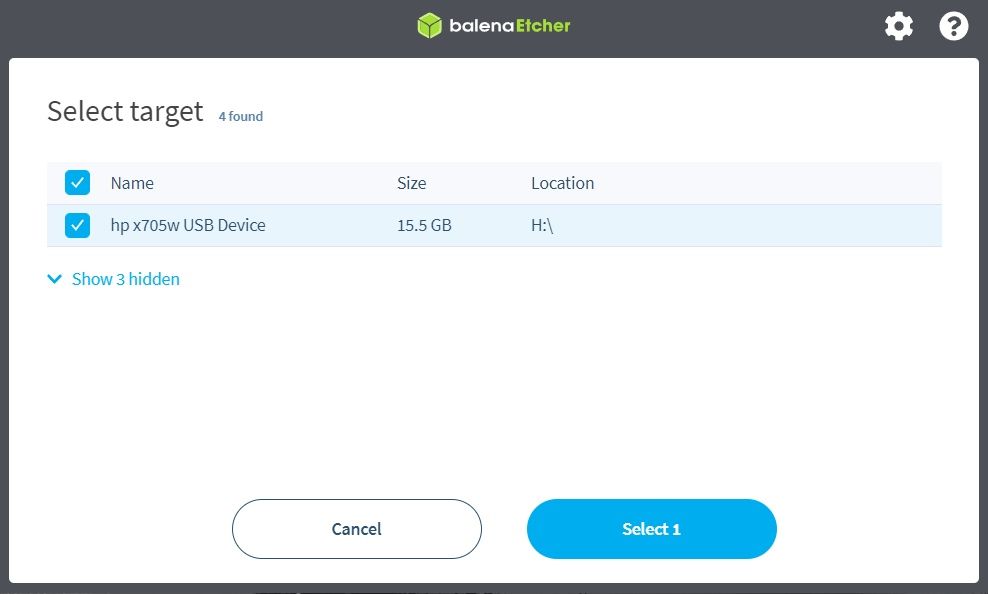
Now, all you have to do is hit “Flash” and wait for the process to complete.
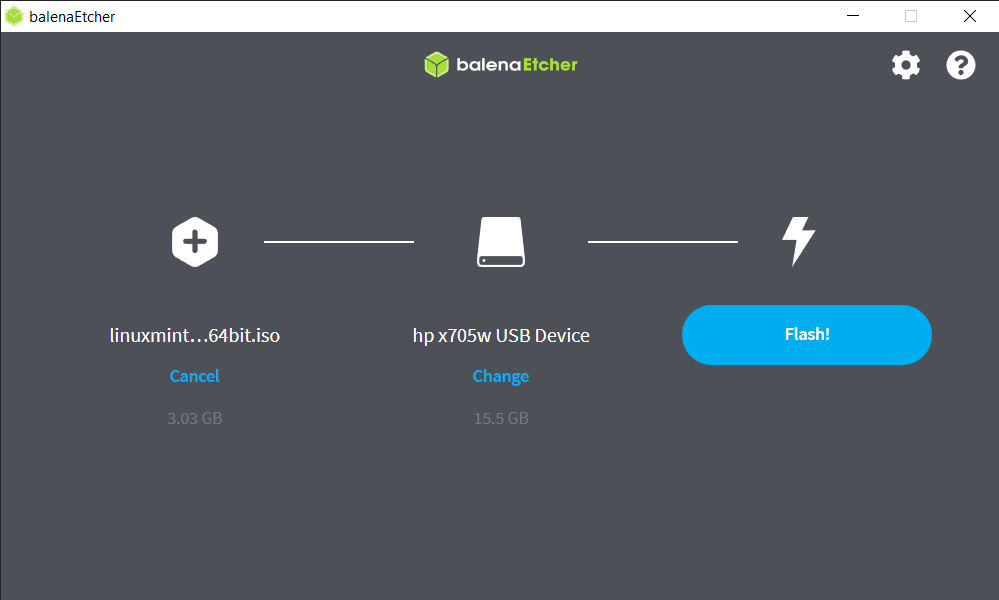
You will get a prompt to accept a command-line process and proceed with a “Yes” to start the flashing process.
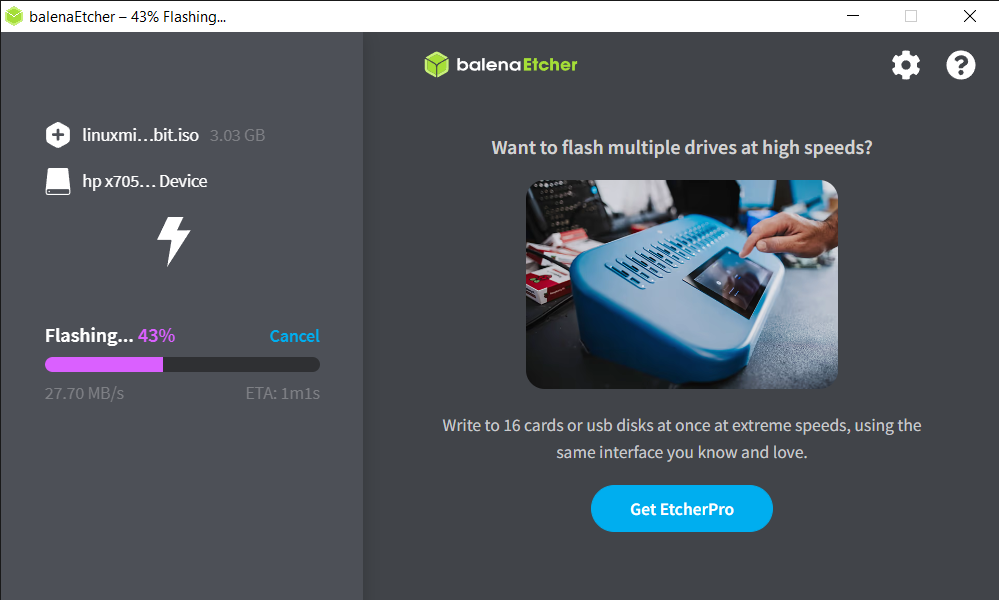
Once done, it will validate that the process was successful, and you should be good to go!
Step 4: Booting from live USB
The live USB you created should work with any computer with UEFI boot.
You can access the UEFI boot settings easily by pressing the F2 or F10 or F12 key when your system is booting up and shows the manufacturer’s logo.
Once you have access to the boot settings, change the boot order to boot from USB first.
Different computers have different BIOS settings, so I cannot share a definite screenshot for this step.
💡
In some rare cases, the secure boot may not allow booting. You can disable secure boot then.
What comes next?
If you like Linux Mint in live setting, you can use the live USB to install Mint by deleting Windows.
Alternatively, you may also dual boot Mint and Windows, keeping both operating systems in the same computer.
Another useful tip. Later on, if you want to use USB for some other purpose but it only shows 4 MB, you can use this troubleshooting article to fix it.
💬 I hope you find this tutorial helpful in creating live Mint USB. Let me know your questions and suggestions in the comment section.

